Easy Lacto-Fermented Dill Pickles
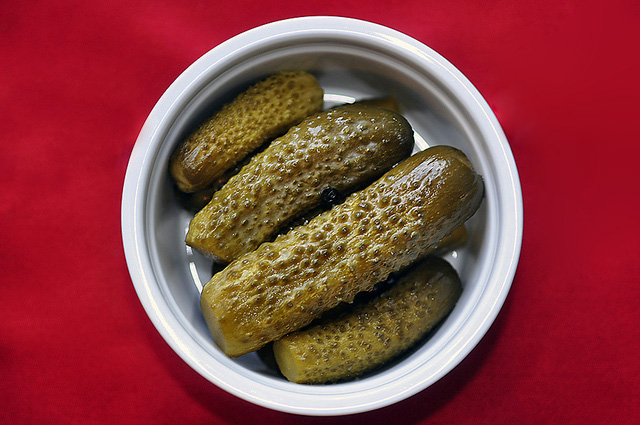
A close relative of sauerkraut and kimchi, these cukes are both delicious and a breeze to make, with the only downside being their inability to be kept for a long time. Not that it’s an issue – at our house, they disappear faster than I can ferment a new batch. The upside is of course the fact that the beneficial bacteria in these are alive, making them a healthful accompaniment to many meals.
If you have never tried these, expect the flavor to be somewhat different from what you might be used to. Not at all vinegary, these are mostly sour and salty, with perhaps a slight touch of bitterness that is not at all unpleasant.
Meanwhile, the method itself is absolutely elementary (making it my favorite during this busy time of year):
Prepare your produce and pack it into crock/jars:
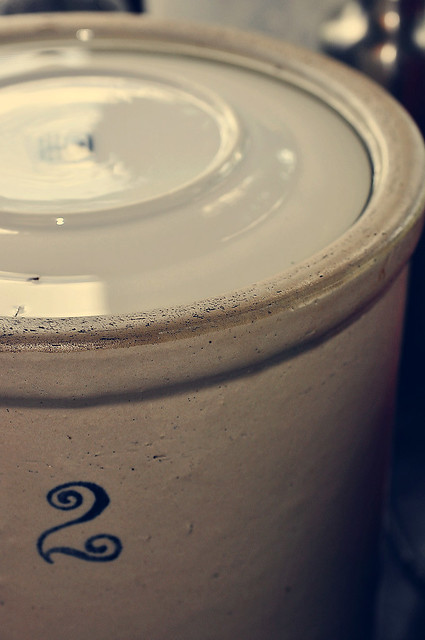
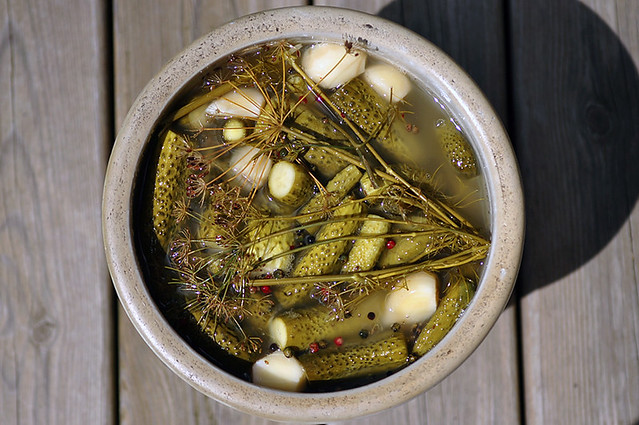
- These can be made either in a ceramic crock, like my 2-gallon crock above, or a mason jar (or several).
- I like to choose really small cucumbers for pickling as they are usually the crunchiest.
- The pickles will be their crispiest when pickled the day they have been picked.
- Wash your cukes thoroughly using a vegetable brush. Take special care to clean between all the little bumps as dirt could lead to spoilage.
- Wash your crock in hot, soapy water and rinse well.
- Trim off both ends to facilitate the fermentation and to remove the blossom end, which contains the enzymes that promote softening.
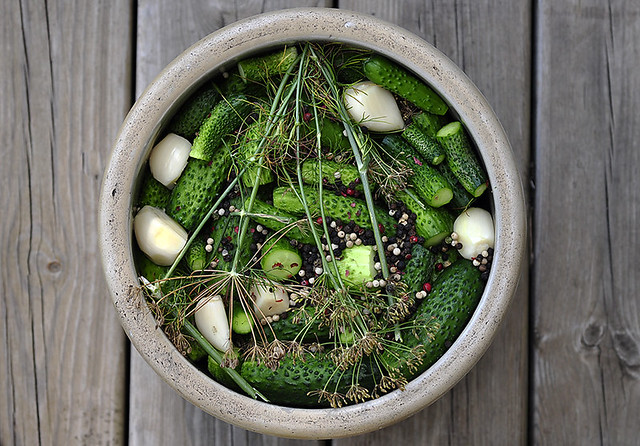
- Pack your cukes tightly into a crock or a mason jar, along with whole garlic cloves, lots and lots of whole peppercorns, and whole dill stalks, stems and all. I like to have some dill on the bottom and some on top. Another very traditional addition would be oak or black currant leaves, both of which promote crispness and add a wonderful aroma. Note that all of the above ingredients should be thoroughly washed as well.
Prepare the brine (makes enough for 4 quart jars):
- 4.5 tablespoons of pickling salt (which contains no additives that could interfere with the fermentation)
- 2 quarts of water (if you live in town and don’t have a well, filtered or distilled water is your best bet)
Pour the boiling brine over the contents of your crock or jar(s).
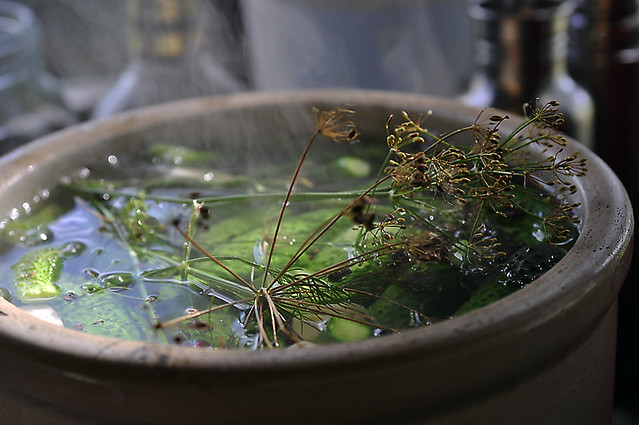
If using a crock, weigh the contents down
with a plate to assure that everything is submerged, hence creating the
anaerobic environment conducive to the growth of lactobacilli.
If using a jar, you can weigh the contents
down with some oak leaves (my husbands’ method), or just by packing
everything so tight that nothing can float to the top.
- Do not seal your jars. Place a clean, moistened cloth over your jar or crock instead, securing with a rubber band or a piece of twine.
- Leave your jars on the counter at room temperature (it doesn’t matter whether or not the jars are next to a window) for 3 days.
- In 3 days, remove the cloth, taste your pickles, and if you like the taste, screw on a lid and transfer them into the fridge. If you feel that your pickles could use some more acidity, however, feel free to leave them on the counter for another day or until the desired flavor has been achieved.
- Note that the brine will turn milky/cloudy (above) and may develop
white foam on top, the bottom, or the contents. It may also appear
slightly slimy, and will grow increasingly so after you’ve transferred
your jars to the fridge. These are a normal part of the fermentation and need not be a reason for concern.
- Once refrigerated, the pickles will last for a couple of weeks, but their acidity level will increase with time as they continue to ferment slowly in the fridge (hence the increasingly cloudy brine). Because of their short life, don’t make more than your family can consume within that time frame.

No comments:
Post a Comment